When using the length measurement function of a microscope for quality control
2587 Views |

In this article, we will introduce "points to note", "how to use", and "recommended microscopes" when using the length measurement function of a microscope for quality control.
important point
Some microscopes also have a length measurement function.
However, there are 2 problems below, which may make it difficult to operate.
(1) The microscope itself is not a traceable measuring instrument.
(2) Except for some high-end machines, calibration must be performed by the end user.
(The error may become larger due to end user operations.)
How to Use
If you are using it for quality control, there is no problem with in-house proofreading.
However, the standard used for in-house calibration must be made clear.
In other words, if the following 3 points are met, operation is possible.
・Use a microscope that allows for reproducibility
・The reference device used to check the accuracy of the above microscope is clear.
・There is a reference device that can be traced
It is also used by customers who have obtained ISO9001 certification.
Recommended microscope
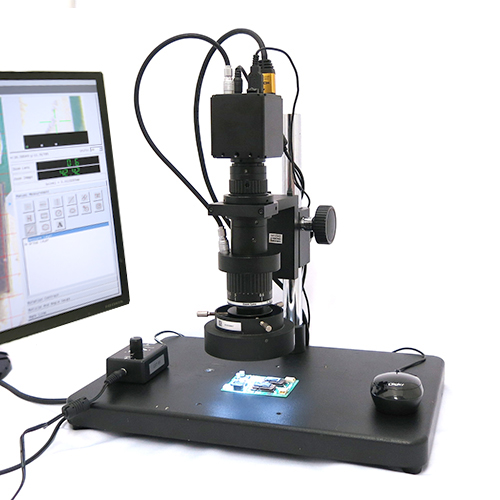
When using the length measurement function of a microscope for quality control, we recommend the following:CT200HD series microscope.
◆Unusual in the middle class! Lens/camera linkage method
The camera acquires lens data and automatically uses the calibration data stored in the camera's internal memory.
・No adjustment required by the end user
・Values will not shift due to end user operations
◆A dedicated glass scale for accuracy confirmation is available as an option.
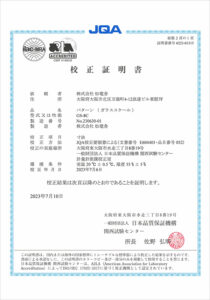
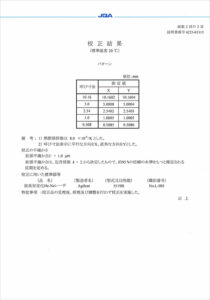
A calibration certificate and test report can be attached to the glass scale. (Paid)

For more details on the "CT200HD series microscope", please see
Please see the product page below.
Measurement Microscope
Inquire about this product
Tel: 02-664-2246
Mail:info@shodensha.co.th
Business hours 8.30 - 17.30 (Closed on weekends & public holidays)


